
The WordPress Contact Form 7 plugin is a widely used tool that simplifies the process of creating and handling contact forms.
Here’s a step-by-step guide on how to set it up:

Step 1: Install the Contact Form 7 Plugin
1. Log in to your WordPress admin dashboard.
2. In the left sidebar, go to “Plugins” and click on “Add New.”
3. In the search bar, type “Contact Form 7.”
4. Search the Contact Form 7 plugin in the search results, and click on the “Install Now” button.
5. After installation, click on “Activate” to activate the plugin.

Step 2: Create a Contact Form
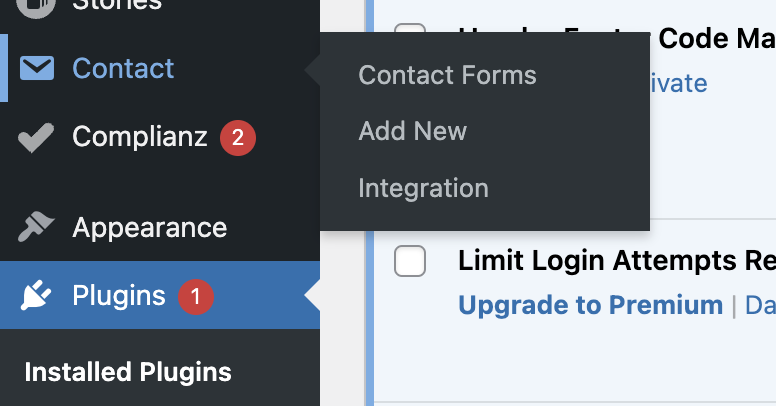
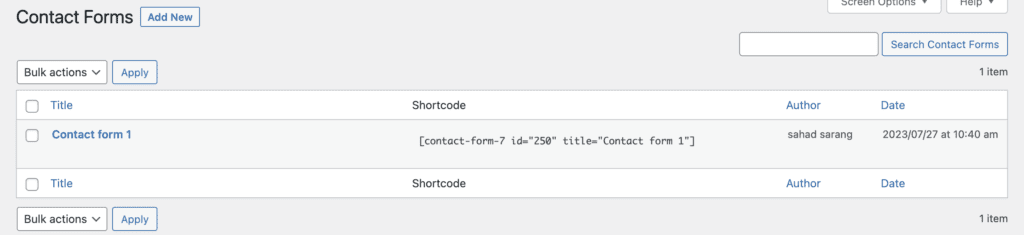
1. After activating the plugin, a new menu item labeled “Contact” will appear on the left sidebar of your WordPress dashboard.
2. Hover over “Contact” and click on “Add New” to create a new contact form.
Step 3: Configure the Contact Form
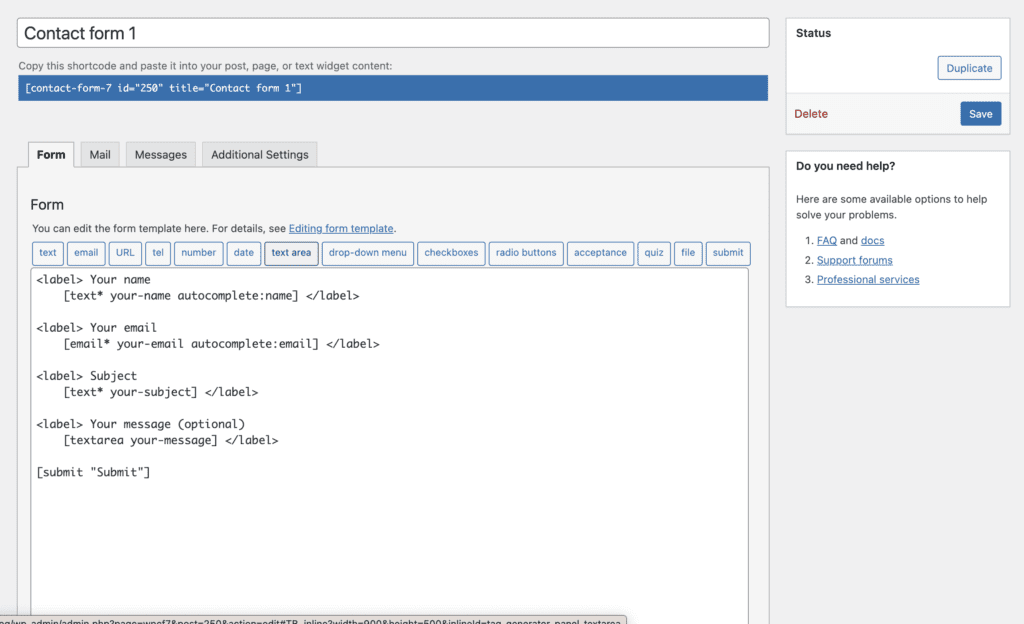
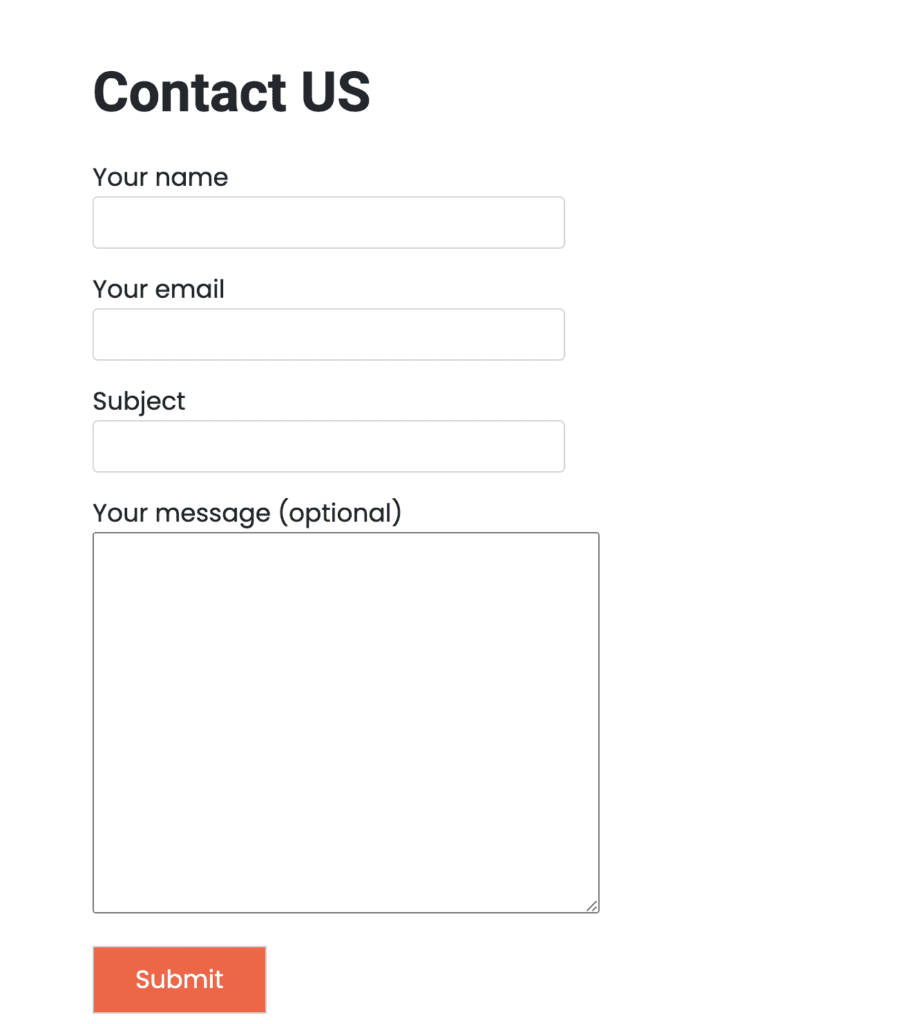
1. You will be directed to the Contact Form editor where a basic contact form has already been created. You have the option to personalize it according to your requirements or start a new one from scratch.
2. Customize the form fields by adding or removing fields. To add a field, click on the appropriate tag on the right-hand side. The tags represent different form elements like text fields, email fields, checkboxes, etc.
3. Modify the form fields’ settings as per your requirements.
Step 4: Set Up Email Notifications
1. Once you’ve configured your Contact form fields, click on the “Mail” tab in the Plugin editor.
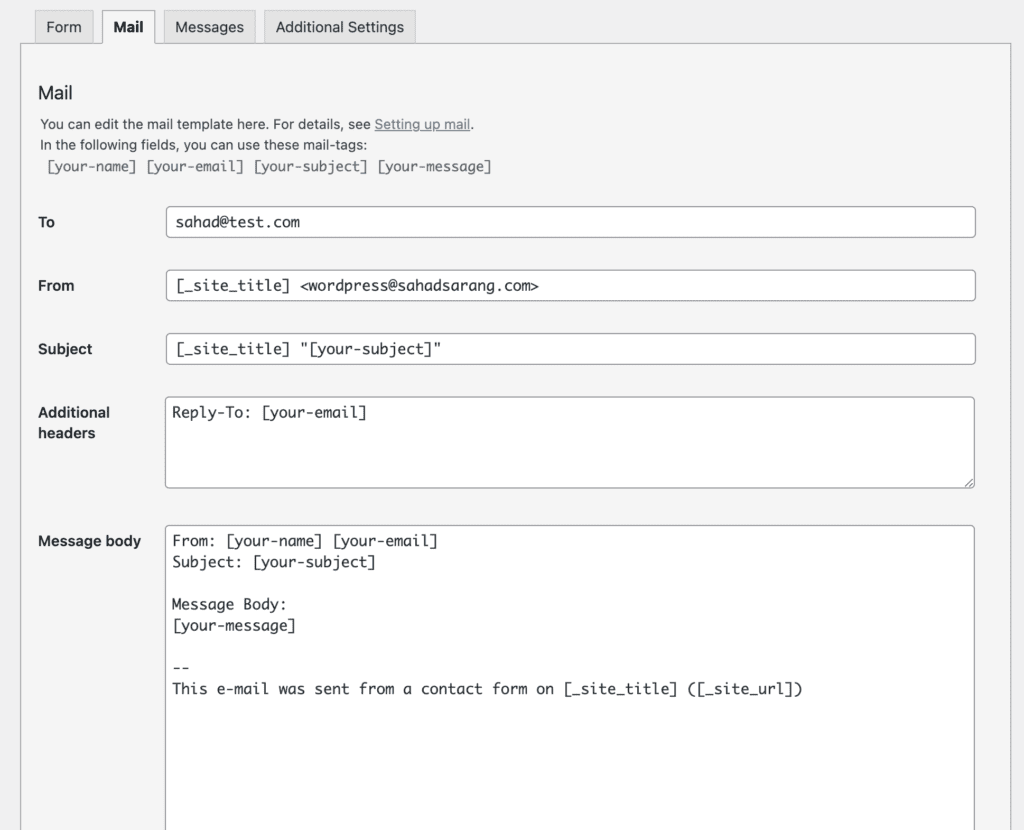
2. In the “To” field, enter the email address where you want to receive the contact form submissions.
3. You can also customize the subject and other email settings as needed.
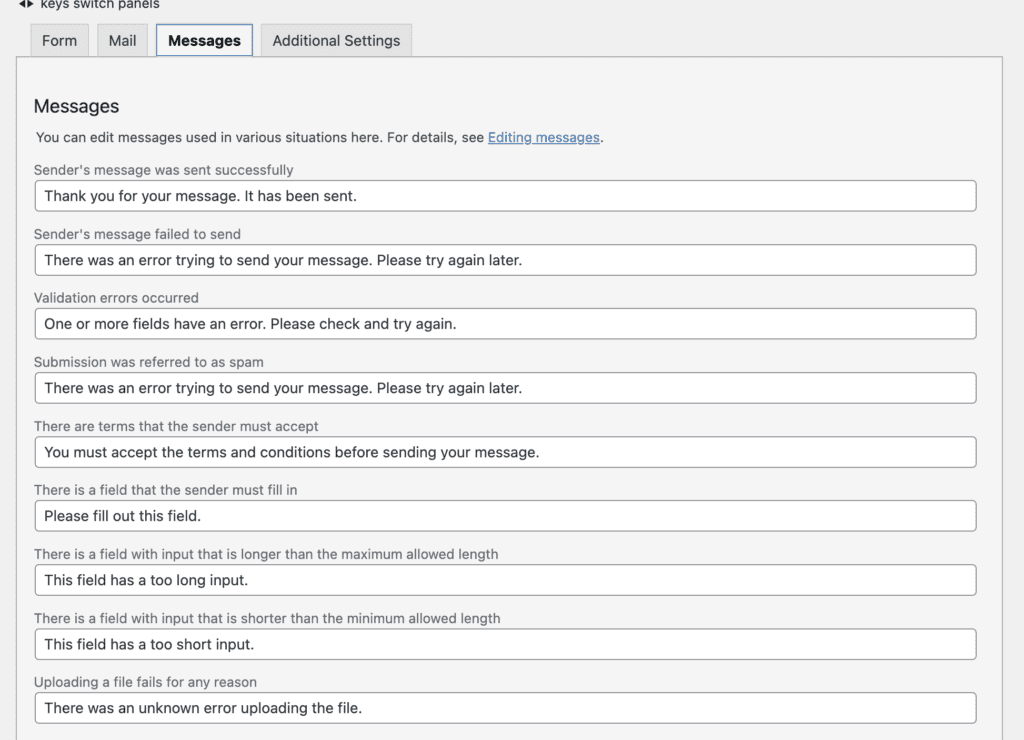
Step 5: Configure Messages Tab
After submitting the form message, you can edit the message and correct any validation form message errors.
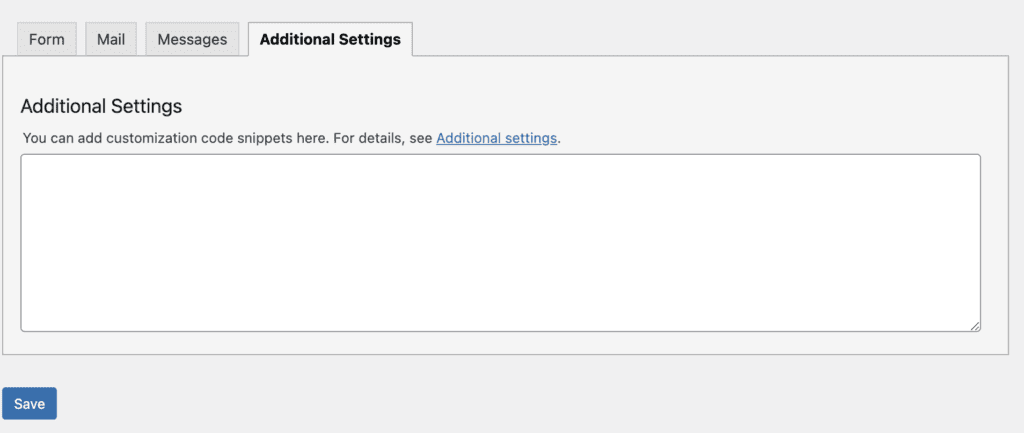
Step 6: Configure Additional Settings
1. The “Additional Settings” tab enables you to add custom configurations if needed.
Step 7: Save the Contact Form
1. Once you have customized the contact form to your preferences, simply click on the “Save” button to ensure that your modifications are saved.
Step 8: Add the Form to Your Website
1. Once your form is saved, the Contact Form 7 editor will provide you with a shortcode (e.g., [ contact-form-7 id=”1234″ title=”Contact form 1″ ]). Copy this shortcode.
2. Create a new page or edit an existing page/post where you want to display the contact form.
3. Paste the shortcode into the page content area.
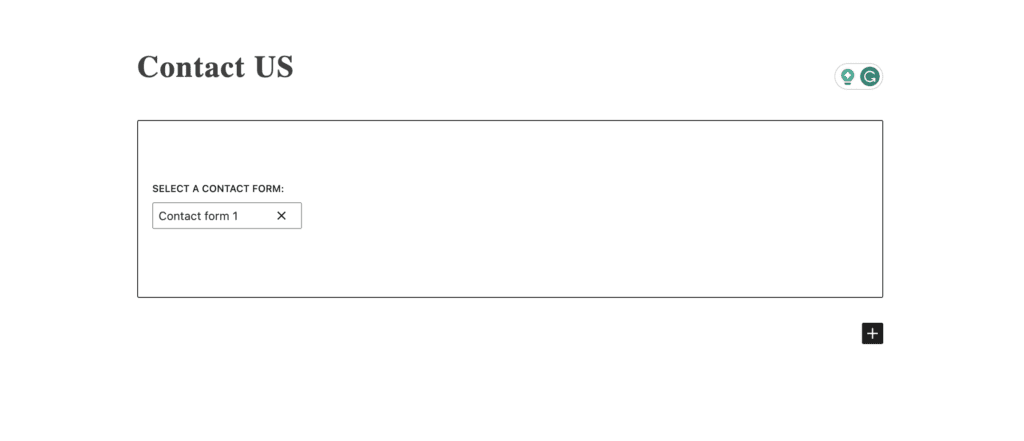
4. Update or publish the page to display the contact form on your website.
Great job! You have successfully installed Contact Form 7 on your WordPress website, giving your visitors the ability to contact you through the form. Make sure to test it out once you’ve set it up to ensure it’s functioning properly.