
To install Visual Studio Code (VS Code) on a Mac, follow these steps:

- Download Visual Studio Code: Open your web browser and go to the official Visual Studio Code website: https://code.visualstudio.com/. Once there, click on the “Download for Mac” button. This will download the VS Code installation package for macOS.
- Install Visual Studio Code: Once the download is complete, locate the downloaded file, usually in the “Downloads” folder. Double-click on the ZIP file to extract it.
- Move Visual Studio Code to Applications: After extracting the ZIP file, you should see the “Visual Studio Code” application. Drag and drop it into the “Applications” folder on your Mac. This will install Visual Studio Code on your MAC.
- Open Visual Studio Code App: Go to the “Applications” folder and find “Visual Studio Code.” Double-click on it to open the application.
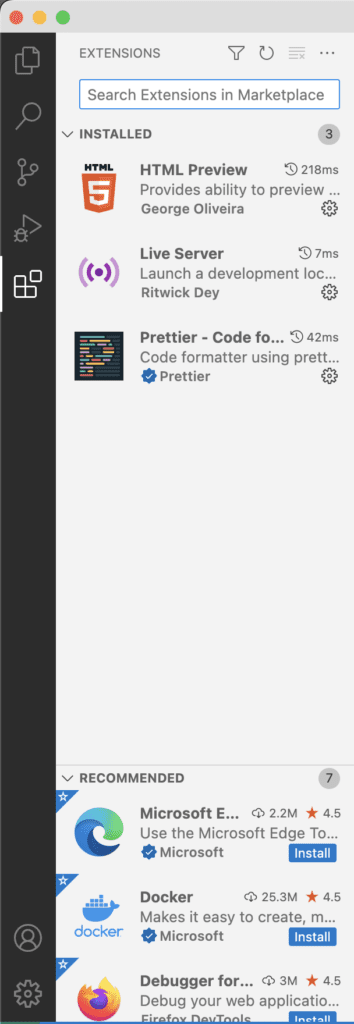
- Additional Configuration (optional): Once you open VS Code, you might want to install some extensions or configure settings based on your preferences.
- On the Left Side of the screen click on Extensions by clicking on the Extensions you can download extensions to improve the coding. You can also customize settings through the settings interface accessible by clicking on the gear icon in the lower left corner and choosing “Settings.”
That’s it! You have successfully installed Visual Studio Code on your Mac. You can now use it for coding and various programming tasks.