WebP and JPG converters are two widely used formats, each with its advantages. WebP is known for its excellent compression capabilities and high-quality images, while JPG remains a popular choice due to its compatibility and wide support across platforms. If you find yourself needing to convert WebP to JPG, whether for compatibility reasons or other preferences, In this blog will walk you through the process.
Step 1: Choose Your Conversion Method
Before we begin the conversion process, it’s essential to decide how you want to convert WebP to JPG. There are other methods also you can take:
- Online Converters: Numerous websites offer free online conversion tools that require no software installation. Examples include Convertio, Online-Convert, and Zamzar. These platforms are user-friendly and work well for occasional conversions.
- Image Editing Software: If you’re already using image editing software like Adobe Photoshop, GIMP, or Paint.NET, you can easily open a WebP image and then save it as a JPG. This approach gives you more control over the conversion process and image quality settings.
- Dedicated Conversion Software: Some specialized software applications, such as XnConvert and IrfanView, allow batch conversions and offer various customization options.
For this guide, we’ll walk you through the process using an online converter.
Step 2: Using an Online Converter
In this example, we’ll use the Convertio online converter:
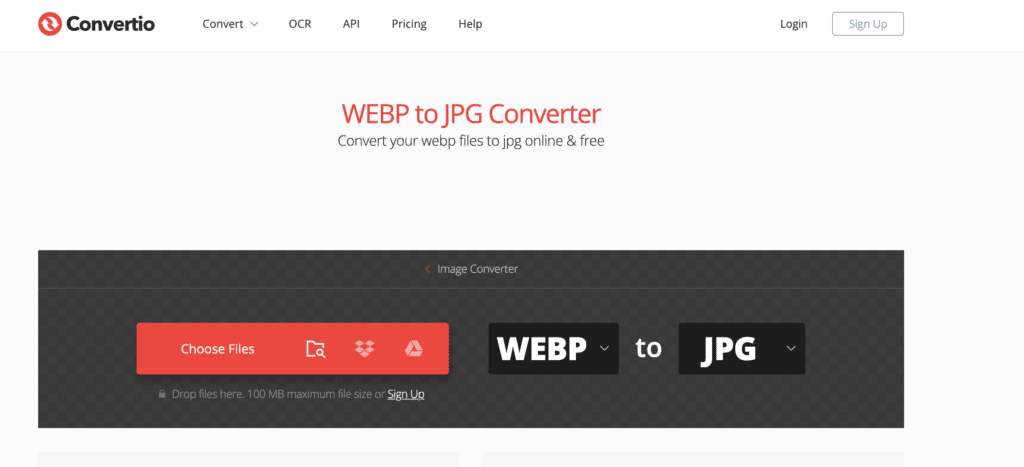
- Access Convertio: Open your preferred web browser and navigate to the Convertio website (https://convertio.co/webp-jpg/).
- Upload Your WebP Image: Click the From Computer button to upload your WebP image from your device. Alternatively, you can choose files from cloud storage or provide a URL if the image is already hosted online.
- Choose Output Format: Ensure that “JPG” is selected as the output format.
- Adjust Settings (Optional): Some online converters allow you to adjust settings such as image quality, resolution, and other parameters. Take advantage of these options if you need to tailor the output to your preferences.
- Start Conversion: Click the Convert button to start the conversion process. The converter will process the image and provide a download link for the converted JPG file.
- Download Your JPG Image: Once the conversion is complete, click the provided download link to save the JPG file to your computer.
After the conversion is complete, it’s a good practice to open the converted JPG image to ensure that it meets your expectations. Verify that the image quality is satisfactory and that no important details were lost during the conversion process. If needed, you can use image editing software to make any necessary adjustments or optimizations. If this tool does not work for you can check this blog to convert webp to jpg or png format