WordPress is a user-friendly platform that powers millions of websites around the world. By default, WordPress user roles, such as Administrator, Editor, Author, Contributor, and Subscriber. However, there might be instances when you need to create a custom user role to meet specific requirements for your website.
In this blog, we’ll guide you through the process of adding a new user role on WordPress.
WordPress user roles Steps:
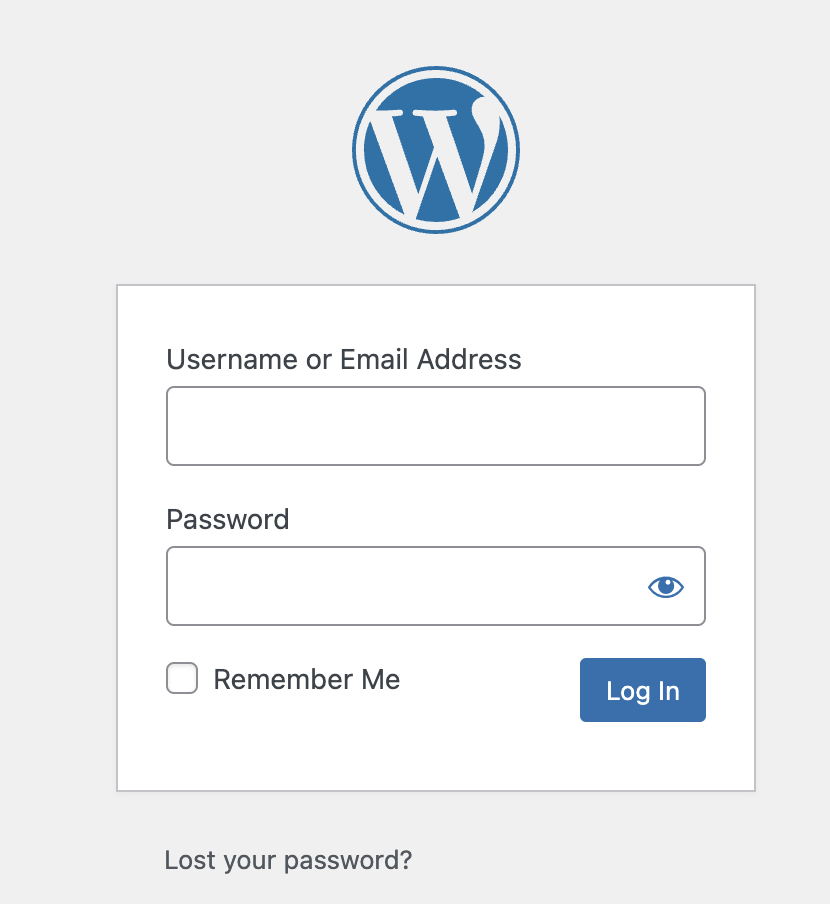
1. Login into your WordPress Administrator Account using your yoursite.com/wp-login


Step 2: Accessing User Role Editor
Once the Login is done, you can access it from the WordPress Dashboard.
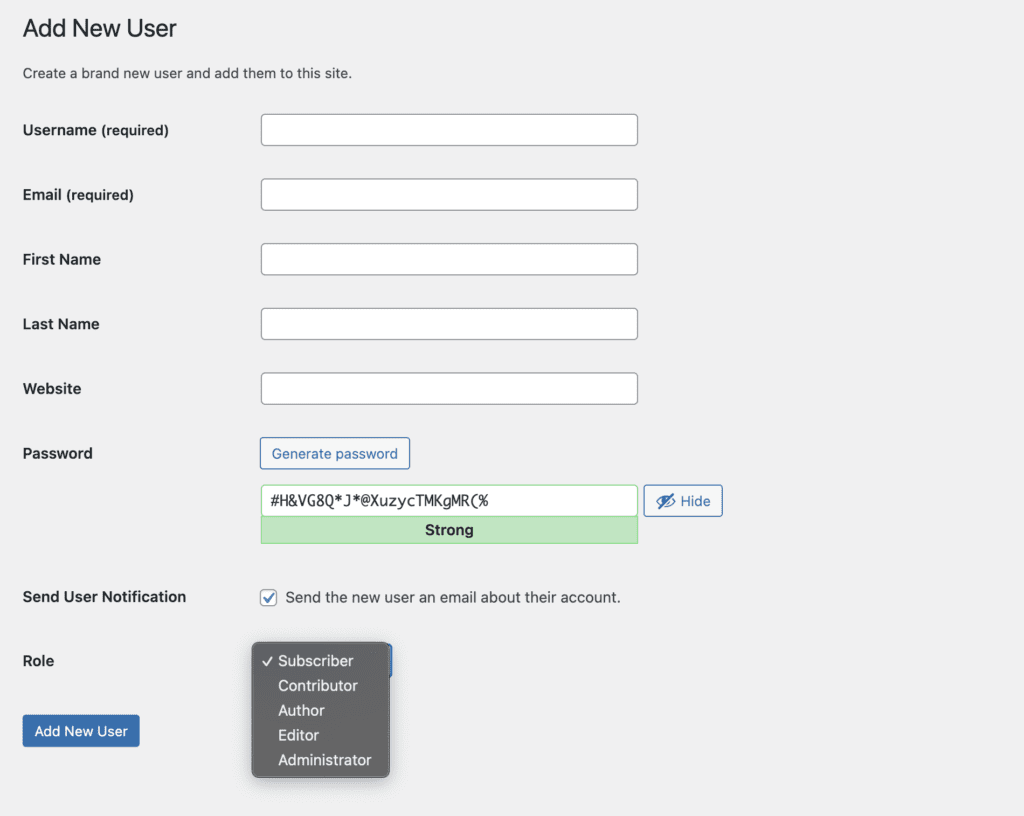
Click on the User tab and click on Add New


Step 3: Create a New User Role


Now, let’s create a new user role basis on your requirements.
- In the User Role Editor Page interface, add all the user details
- Enter a username for your new user role (e.g., “Contributing Editor”).
- Enter your team person’s email id, first name, and last name, and for the password, the administrator can set or generate a password
- Select the Role you want to grant for your team. You can change the level of access on WordPress to the subscriber, Contributor, Author, or Editor.
- Click on the “Add New User” Button to create a new user role.
Step 4: Test the New User Role
After assigning the custom user role, it’s essential to verify that it works as expected.
- Log out of your current WordPress administrator account.
- Log in using the credentials of the user.
- Check the user’s capabilities and ensure they have access to the assigned privileges.
Remember, the role of each user on your website should align with their level of responsibility, ensuring a smooth & secure experience for everyone involved. As your website evolves, you can always revisit the user roles and adjust them to accommodate any changes in your team dynamics or site requirements. Happy WordPressing!
You can check our other blog Free Vpn Chrome Extension


